
Have you ever wondered how to use GNU Image Manipulation Program (GIMP) for your image editing tasks? This two-part tutorial will teach you the basics to start it off.
Table Of Contents
- Introduction
- How to Draw a Line
- How to Draw a Straight Line
- How to Draw a Horizontal Line
- How to Draw a Vertical Line
- How to Save Your Work
Introduction
Let’s first get acquainted with what GIMP is. It is a free and open-source, cross-platform image editor used for image manipulation and editing, free-form drawing, transcoding between different image file formats, and more specialized tasks.
In this blog post, you will learn about the windows and tools you will commonly work with while editing in GIMP. You will also learn how to draw straight lines and how to save your work.
Main Window
The Image Window holds the image you are editing which allows you to work on multiple Image Windows at a time.

If you prefer to work with a single window, select Windows > Single-Window Mode.

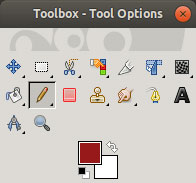
Toolbox Window
The Toolbox Window contains the visible Tools & Color selector. The icons on the Toolbox represent the Tools. For each tool selected, the available options appear at the lower portion of the Toolbox. In the example below, the Crop tool is selected and the Crop options are displayed.

How to Draw a Line
- Create a new image by left-clicking File > New….
- On the Main toolbox, click the Pencil Tool.
- On the canvas (white area), draw the line by dragging the left mouse key.
- Release the left mouse to stop drawing.
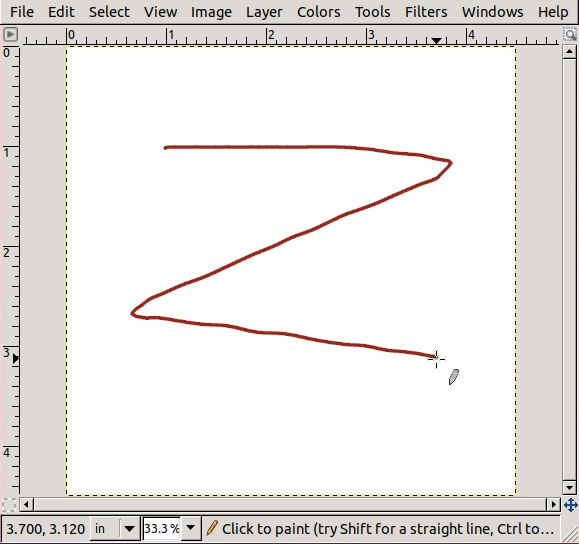
In this example, maroon is the Foreground color selected. The Background color is white.
How to Draw a Straight Line
- Create a new image by clicking File > New….
- On the Main toolbox, click the Pencil Tool.
- On the canvas
- Click to start the line.
- Press Shift while moving the mouse pointer to the desired end of the line.
- Click to set the end of the line.
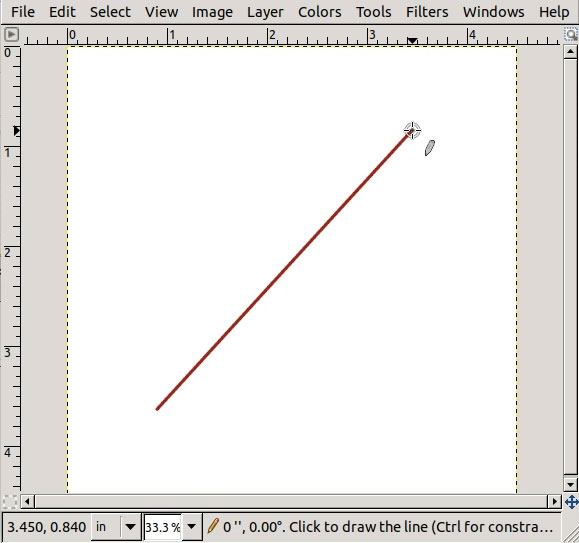
Shift is the key to your straight lines. 🙂
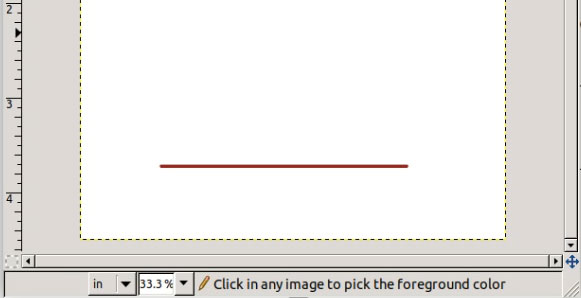
How to Draw a Horizontal Line
- Create a new image by clicking File > New….
- On the Main toolbox, click the Pencil Tool.
- On the canvas
- Click to start the line.
- Press Shift key while moving the mouse pointer to the desired end of the line. Make sure the angle is 0° (zero degrees), or
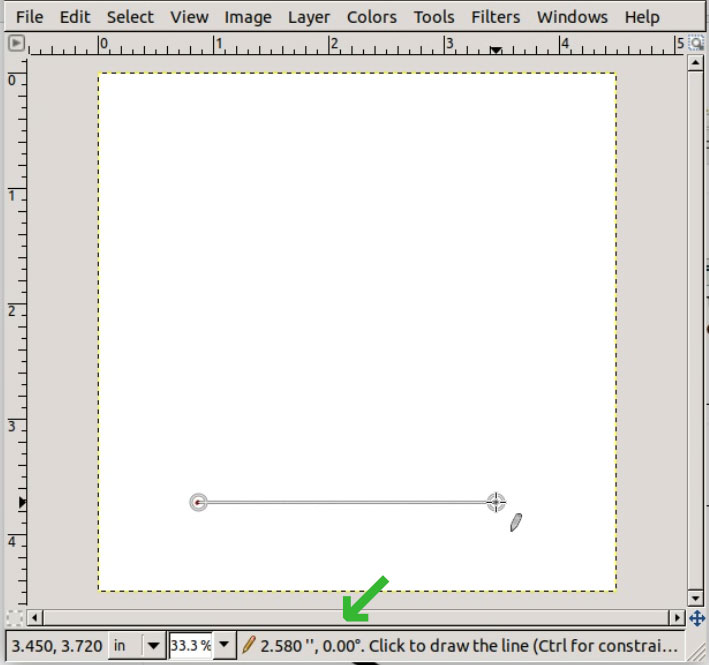
180° on the status bar.
- Click to set the end of the line.
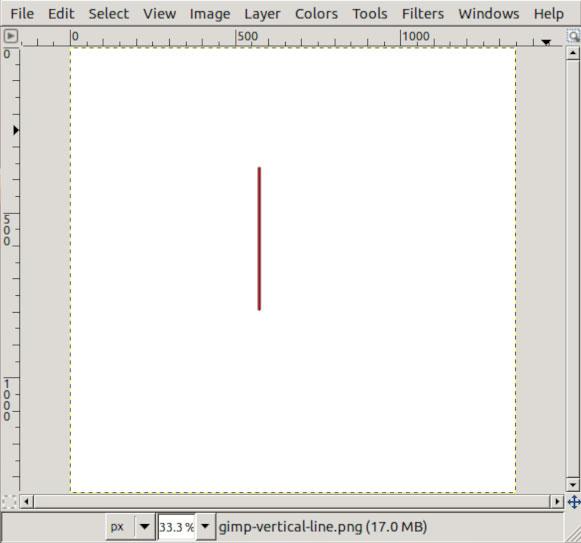
How to Draw a Vertical Line
- Create a new image by clicking File > New….
- On the Main toolbox, click the Pencil Tool.
- On the canvas
- Click to start the line.
- Press Shift key and move the mouse pointer to the desired end of the line. Make sure the angle is 90°, or
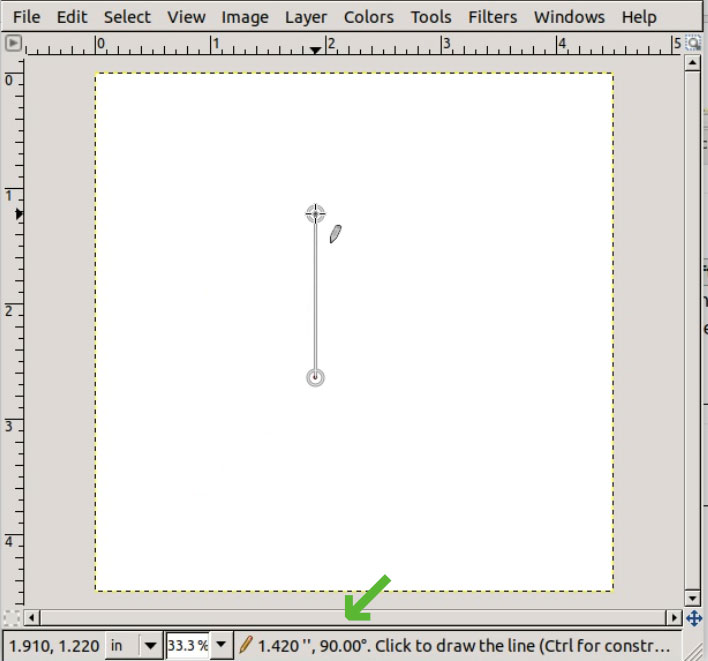
270°.
- Click to set the end of the line.
This tutorial uses the Pencil tool. As an alternative, you can use any brush tool to draw a line with GIMP.

Drawing your lines can also be done by Smudge, Eraser, Clone, Blur or the Dodge Tool.
How to Save Your Work
Saving is important to allow you to continue on your work at a later time. To save, press Ctrl + S. Or when using your mouse, click File > Save… This will show a Save Prompt where you can set the file name and folder to put your file into. You can leave the other options as-is. Other options available are File > Save As… and File > Save a Copy….

Important note
Saving you work on GIMP creates an xcf file. To save the actual image file (jpg, png, etc.) that can be displayed on websites or attached to documents, you will have to explicitly Export the image.
XCF is short for eXperimental Computing Facility, the native image format used by GIMP.
Click here for the second part of the tutorial.
Share


Key Topics

Article
Women Who Code: Transforming the Tech Landscape with Diversity and Skill
Key Takeaways Introduction Over the years, gender inclusivity has constantly been a subject of dispute...

Article
Embracing EQ in UX: A New Era for the Philippines National Skills Framework
Key Insights Introduction The Philippines has long stood as a bastion of warmth and understanding,...

Article
Transforming Tech Talent: Philippines Introduces Game-Changing National Skills Framework for IT Excellence
In today’s rapidly advancing technological world, the gap between academic learning and industry requirements in...